A Resource is any material that is used for reference by students or families. It can be a text book, a website, a schedule, a prospectus, a syllabus, a material list, etc.
Resources added for each course (
Course Resources) are a master list of items that will be needed. From the master list of
Course Resources, you can choose items to add to specific course activities (
Activity Resources).
Course Resources can be viewed in the Schedule tab by clicking the “Show Course Resources” button. This button is accessible in every period and event. They will also be accessible in the Course List when families are shopping or enrolling.
Activity Resources are visible in the Schedule tab at the very top within a box labeled “Resources.”

Some Resources may require uploading a file while others may not. For example, you may have created a Word document to use as the prospectus and want students to be able to download it. This will require that you upload the document before you mark it as a resource. See instructions for
uploading files below. After uploading the file, you can follow instructions for adding a resource.
Resources such as text books or websites don’t require files to be uploaded, so you can skip that step and follow the instructions for adding a resource.
Uploading Files
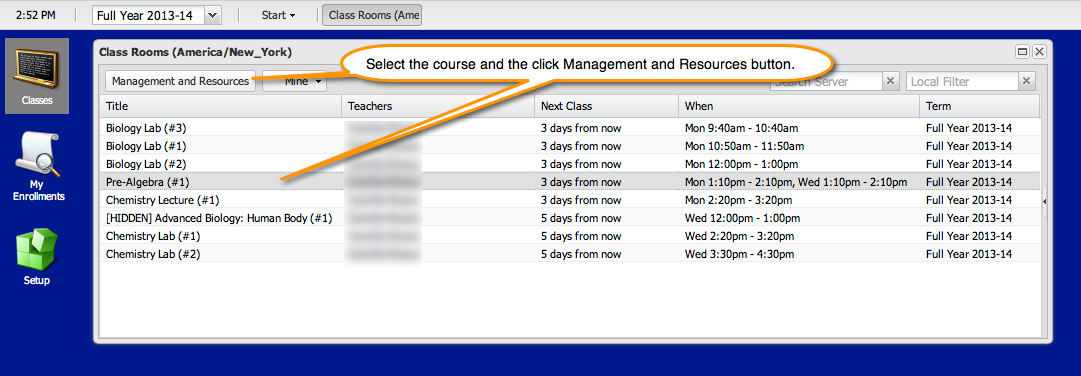
- Select the course name in the Classes menu and then click Management and Resources button.

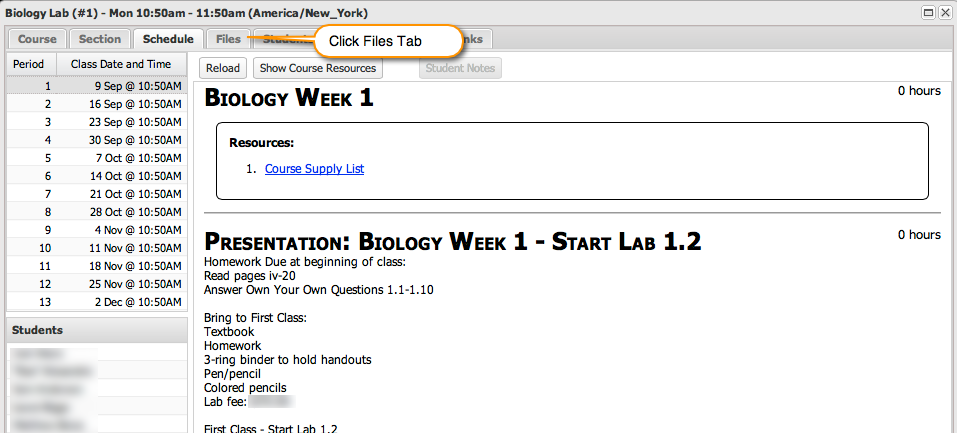
- Click the Files tab.

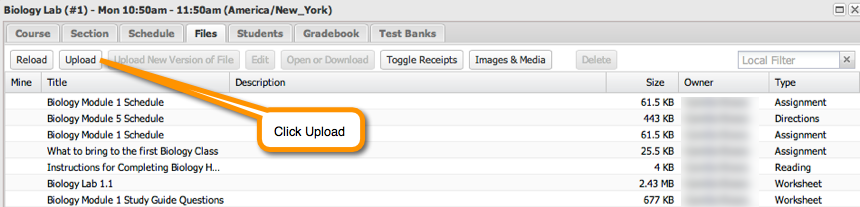
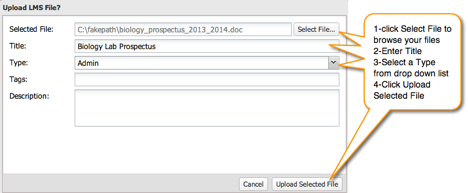
- Click the Upload button.

- Click the Select File button and browse your computer to locate your document. Enter a Title and choose a Type. Then click Upload Selected File.

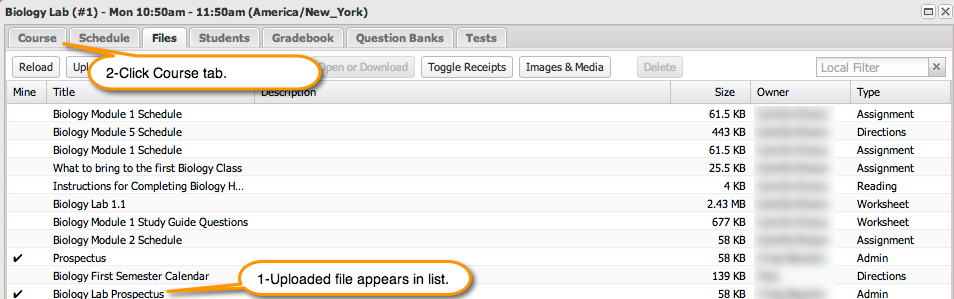
- Now you will see the uploaded file listed. Click Course tab.

Adding Course Resources
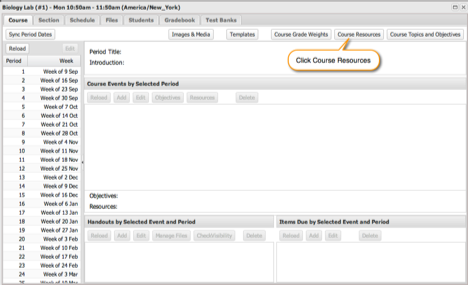
- Click Course Resources at the top.

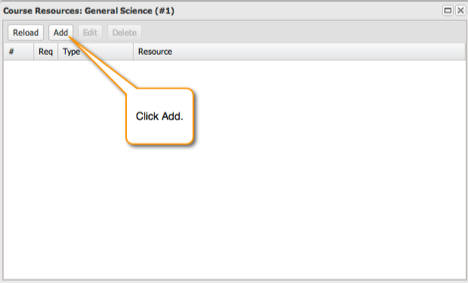
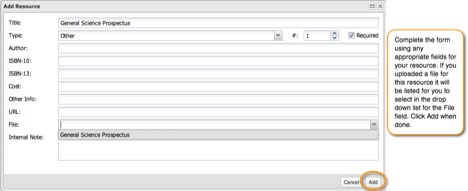
- Click Add.

- Complete the form using any appropriate fields for your resource. If you uploaded a file for this resource it will be listed for you to select in the drop down list for the File field. Click Add when done.

- The resource will now appear in the Course Resource list. Close the window.
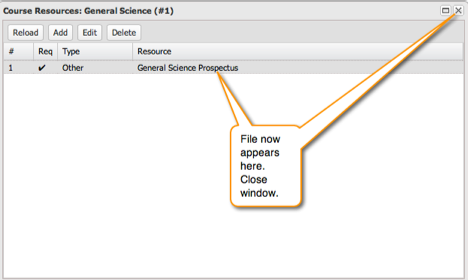

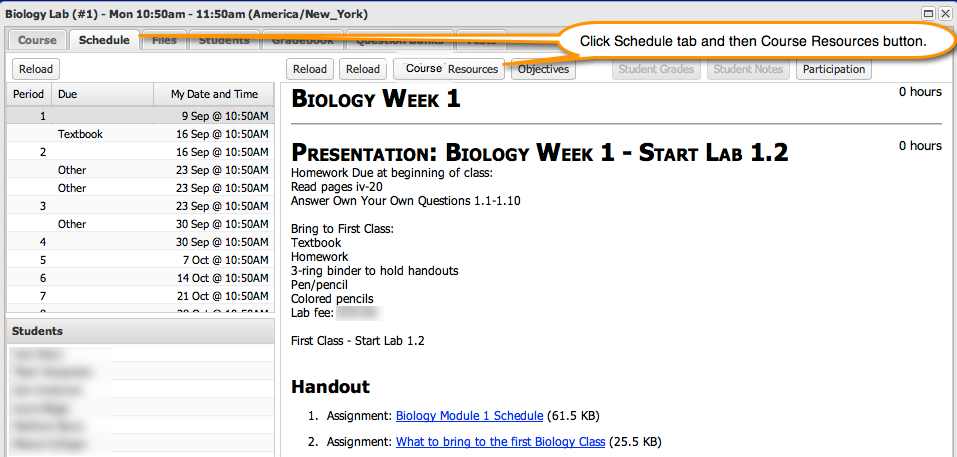
- Now you can go back to the Schedule tab and click the Course Resources button.

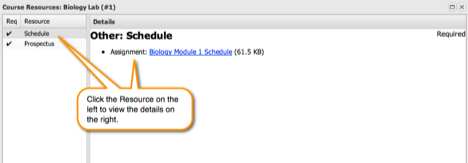
- Click the Resource on the left to view the details on the right. If the resource was a file you uploaded, the file name will be a clickable link. This list of Course Resources will be accessible for every Period and Activity.

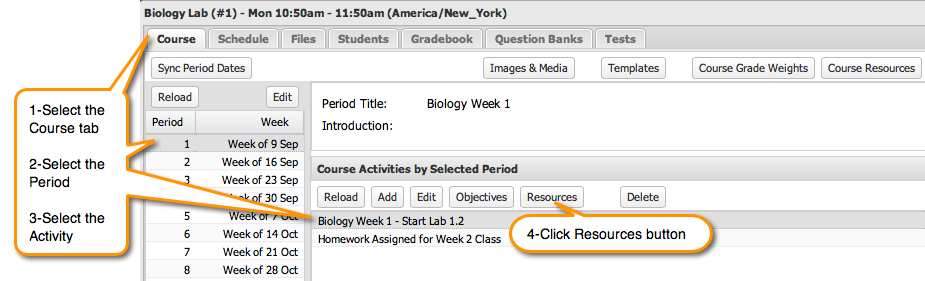
Adding Activity Resources
(Activity Resources are Course Resources that are specifically needed for an activity. Therefore, you must first add the resource as a Course Resource, before you define it as an Activity Resource too.)
- Select the Course tab, then the period, and then the event. After that click the Resources button.
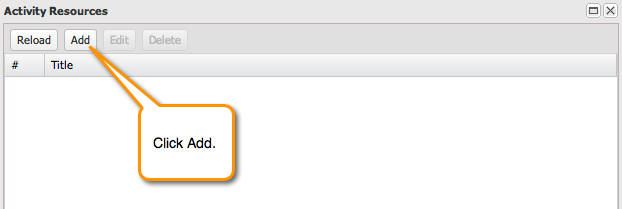
- Then click the Add button.
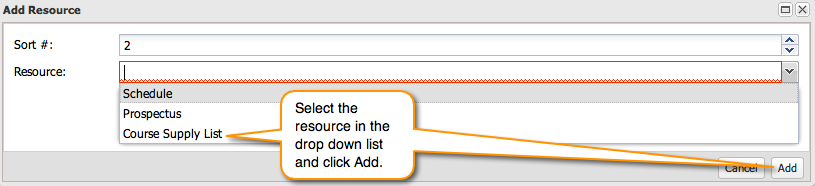
 - Select the Course Resource in the drop down list and then click Add.
 - The resource will now be listed in the Activity Resources window. Close window.
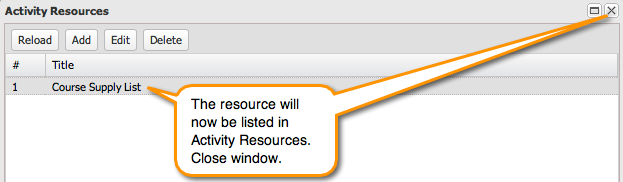
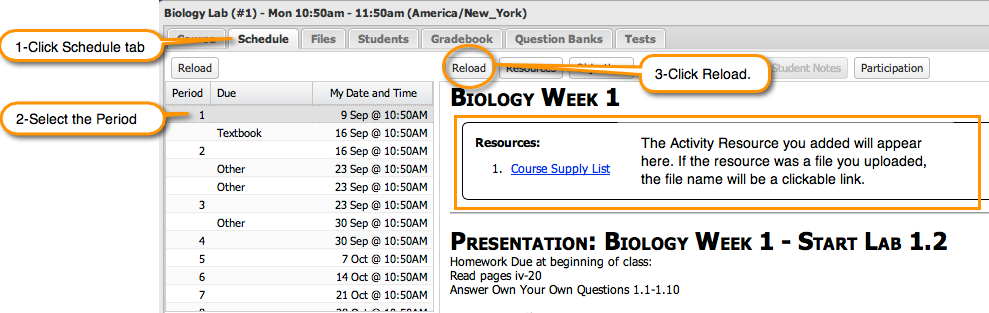
 - Now you can go back to the Schedule Tab, select the Period, and click Reload. The Activity Resource you added will appear in the box at the top. If the resource was a file you uploaded, the file name will be a clickable link. This resource will not be accessible in other events or periods unless you add it there as well.